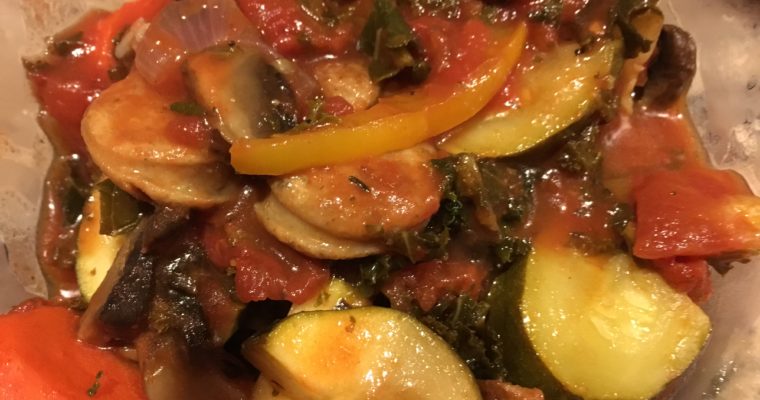
I’ve been trying to perfect my method for grilling pizza and it is a work
in progress! But the benefit of testing is I get to eat the
results every time and it tastes amazing,
even if it does look like a mess.
First, I stretch out the dough. Use a piece of parchment paper lined liberally
with flour or cornmeal, your choice. The parchment is on a large cutting
board or the underside of a cookie sheet works too.
The two smaller doughs work better here because
transferring to the grill becomes a challenge.
I also have found that transferring works best with
two people. One to slide the parchment with
the dough right onto the grill, then the first person manages
the dough just to hold it in place while the 2nd person
pulls the parchment out from under the dough.
Your pizza will look like this if the dough gets stuck on the parchment
as you are pulling it out from under the dough when on the grill!
However, this tasted AMAZING!
This is why you need alot of flour or cornmeal under the
dough while forming, for easy sliding/transferring,
but having the 2nd person ensures you avoid a
total mess just in case.
Let your grill heat up to ~500 degrees.
Prior to transferring the dough…
also helpful, take a paper towel folded up into a small
square, soak with olive oil or other oil, and using tongs rub the
grates to coat with the oil. This helps to prevent sticking.
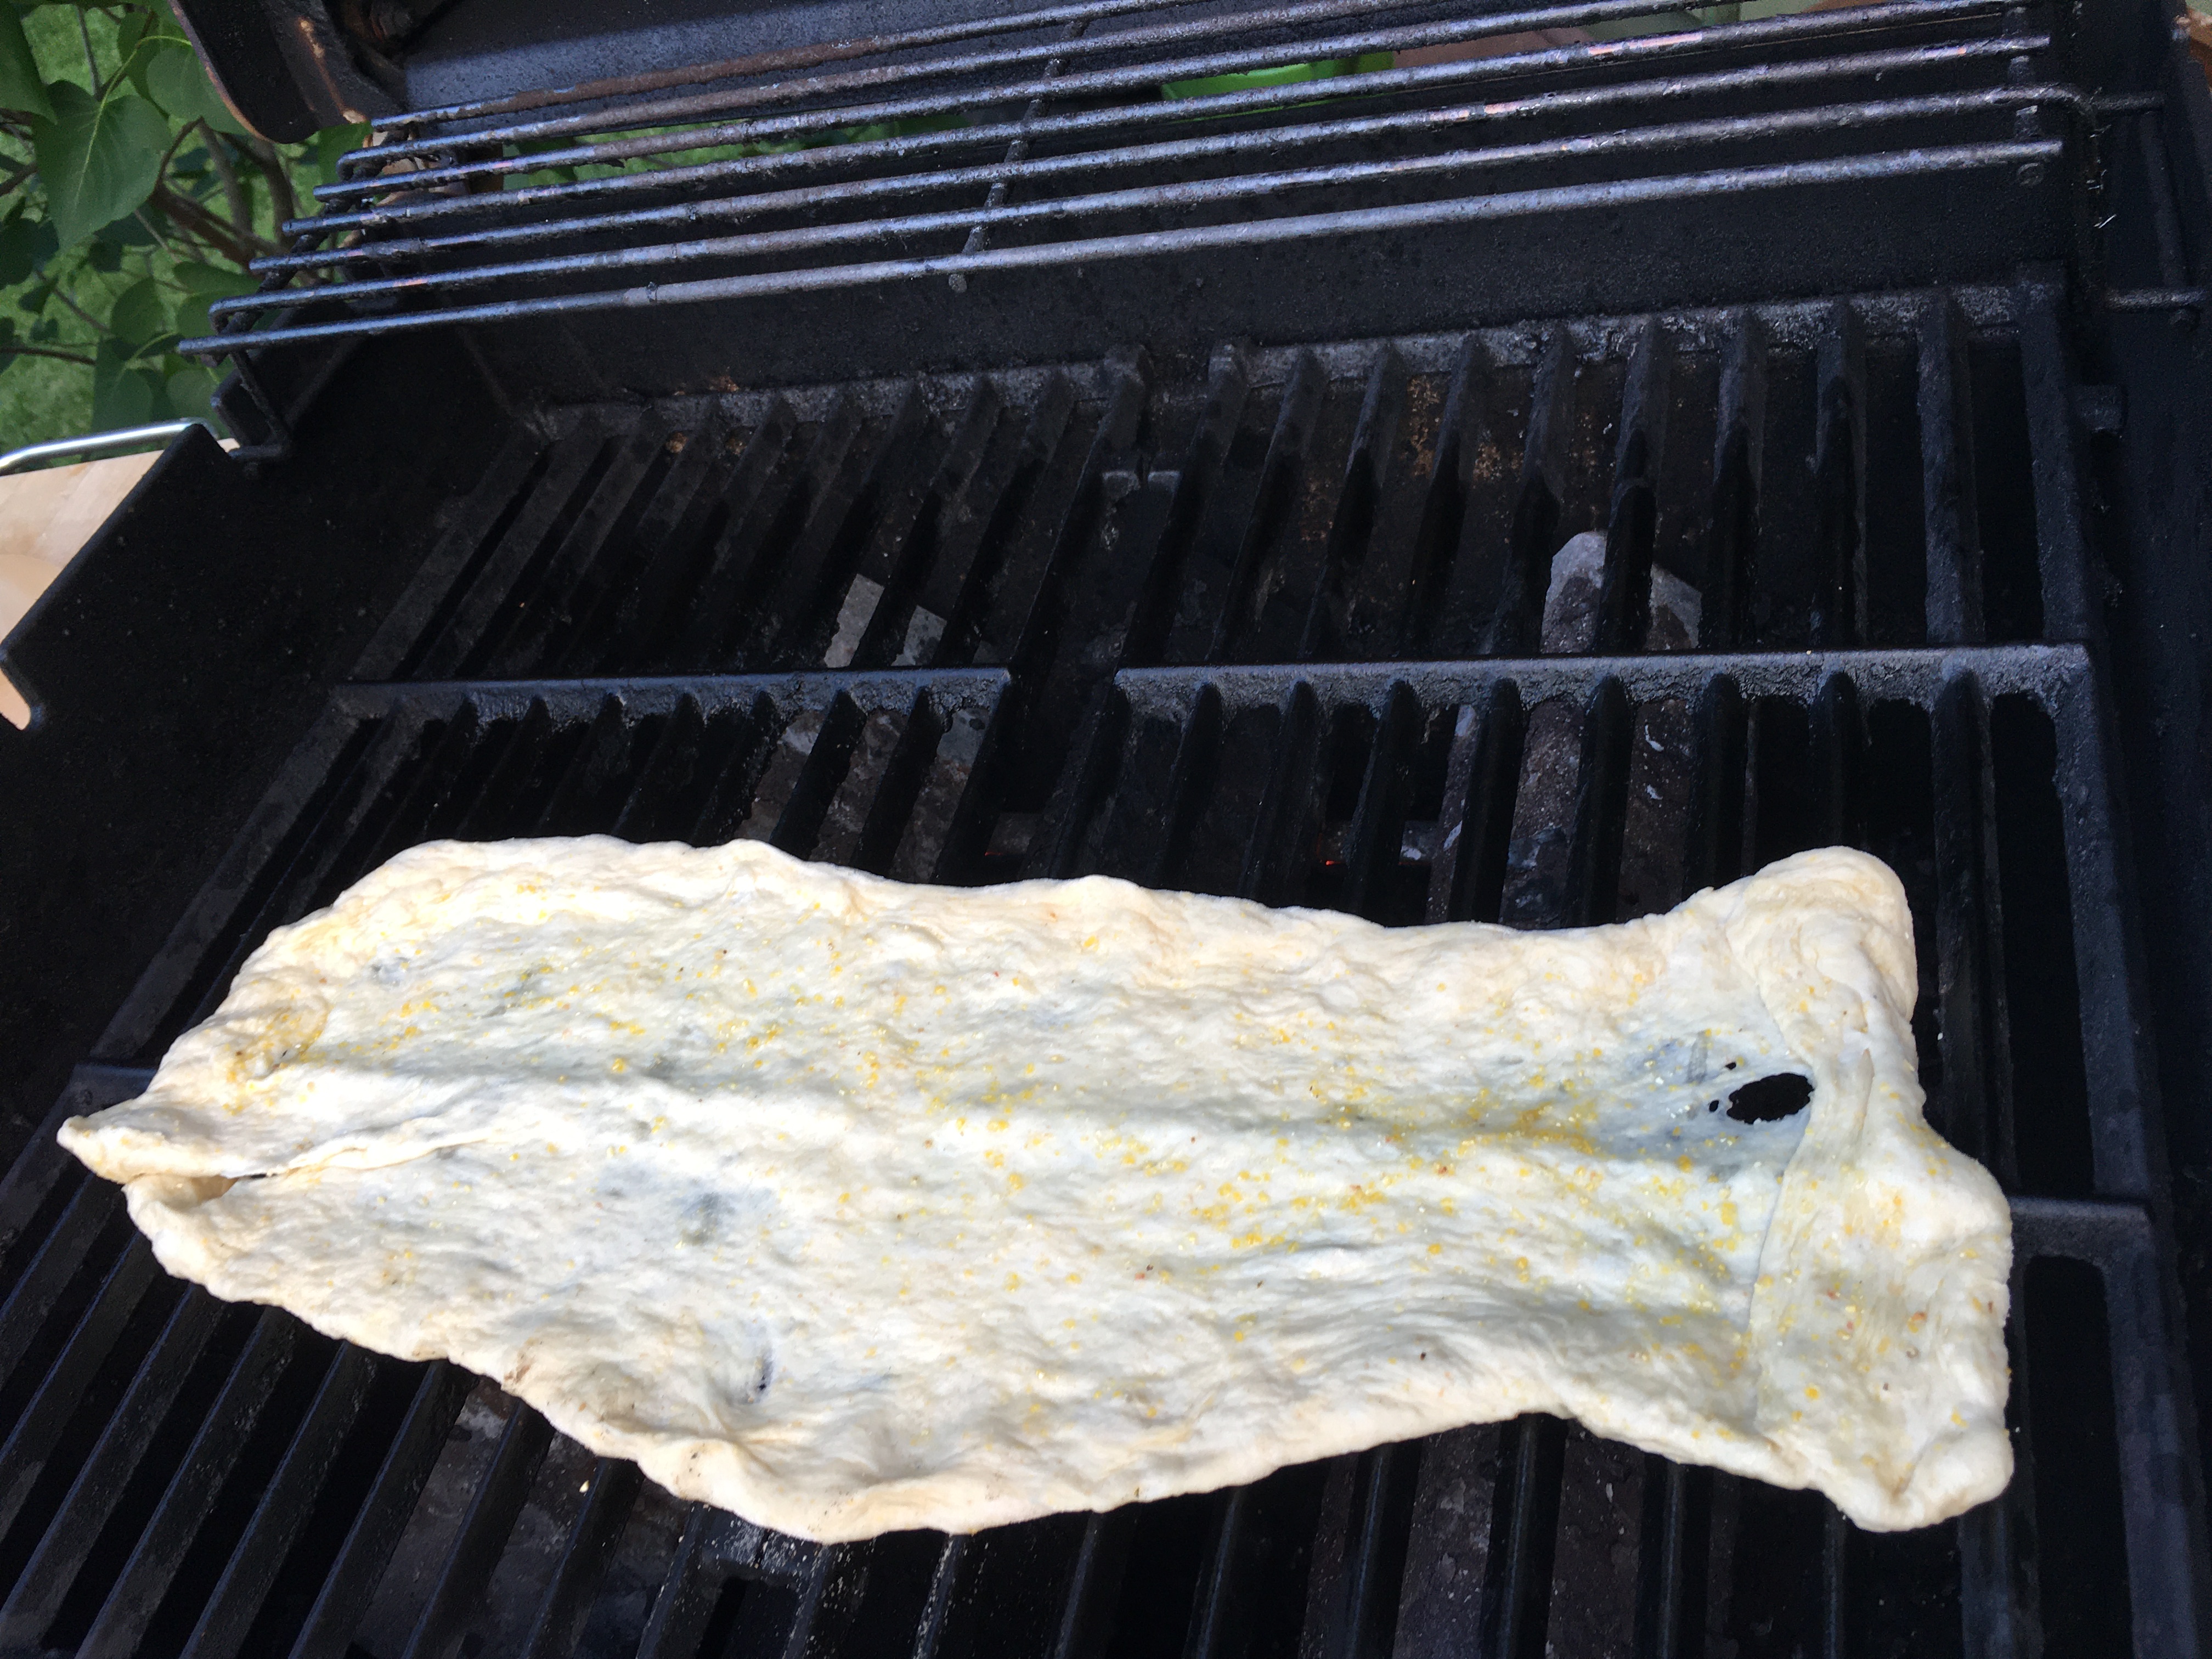
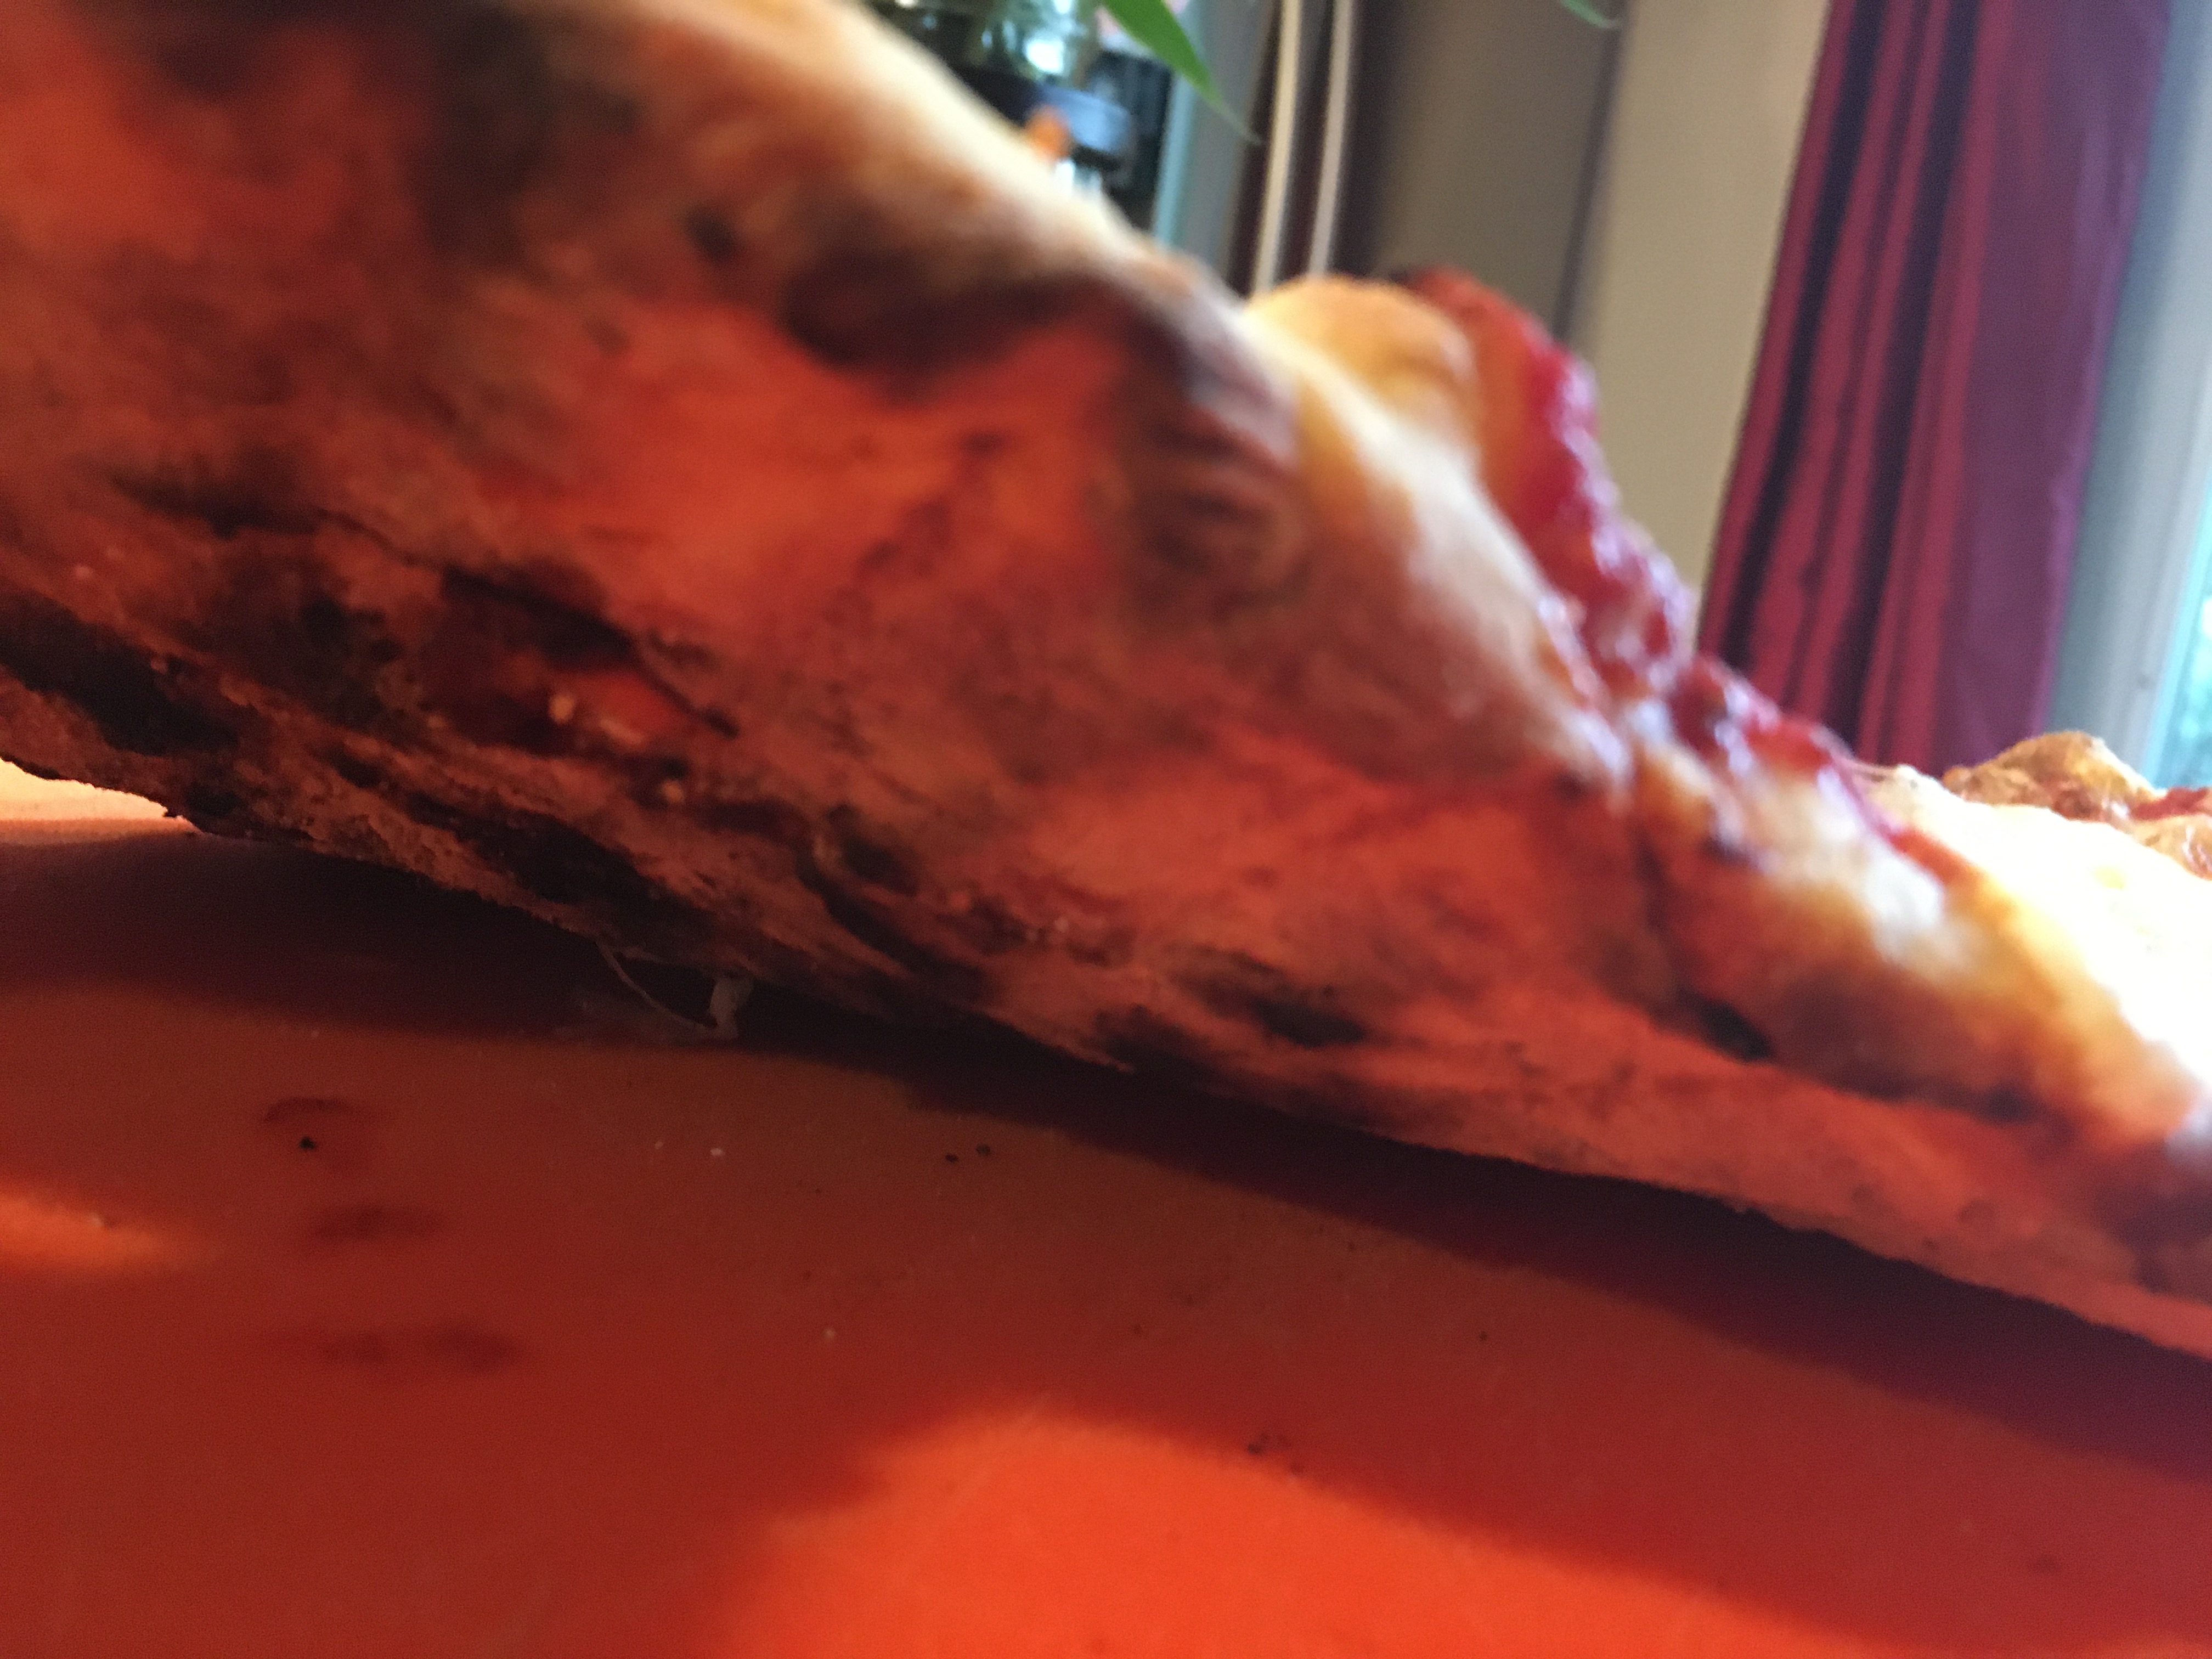
note the small hole on right side, stretched too
much while transferring, oh well!gotta go with it…
Once on the grill, let it sit until it will easily lift off the grates,
usually only 2 minutes or so. Using your tongs and one hand
(it is not too hot), flip the dough over.
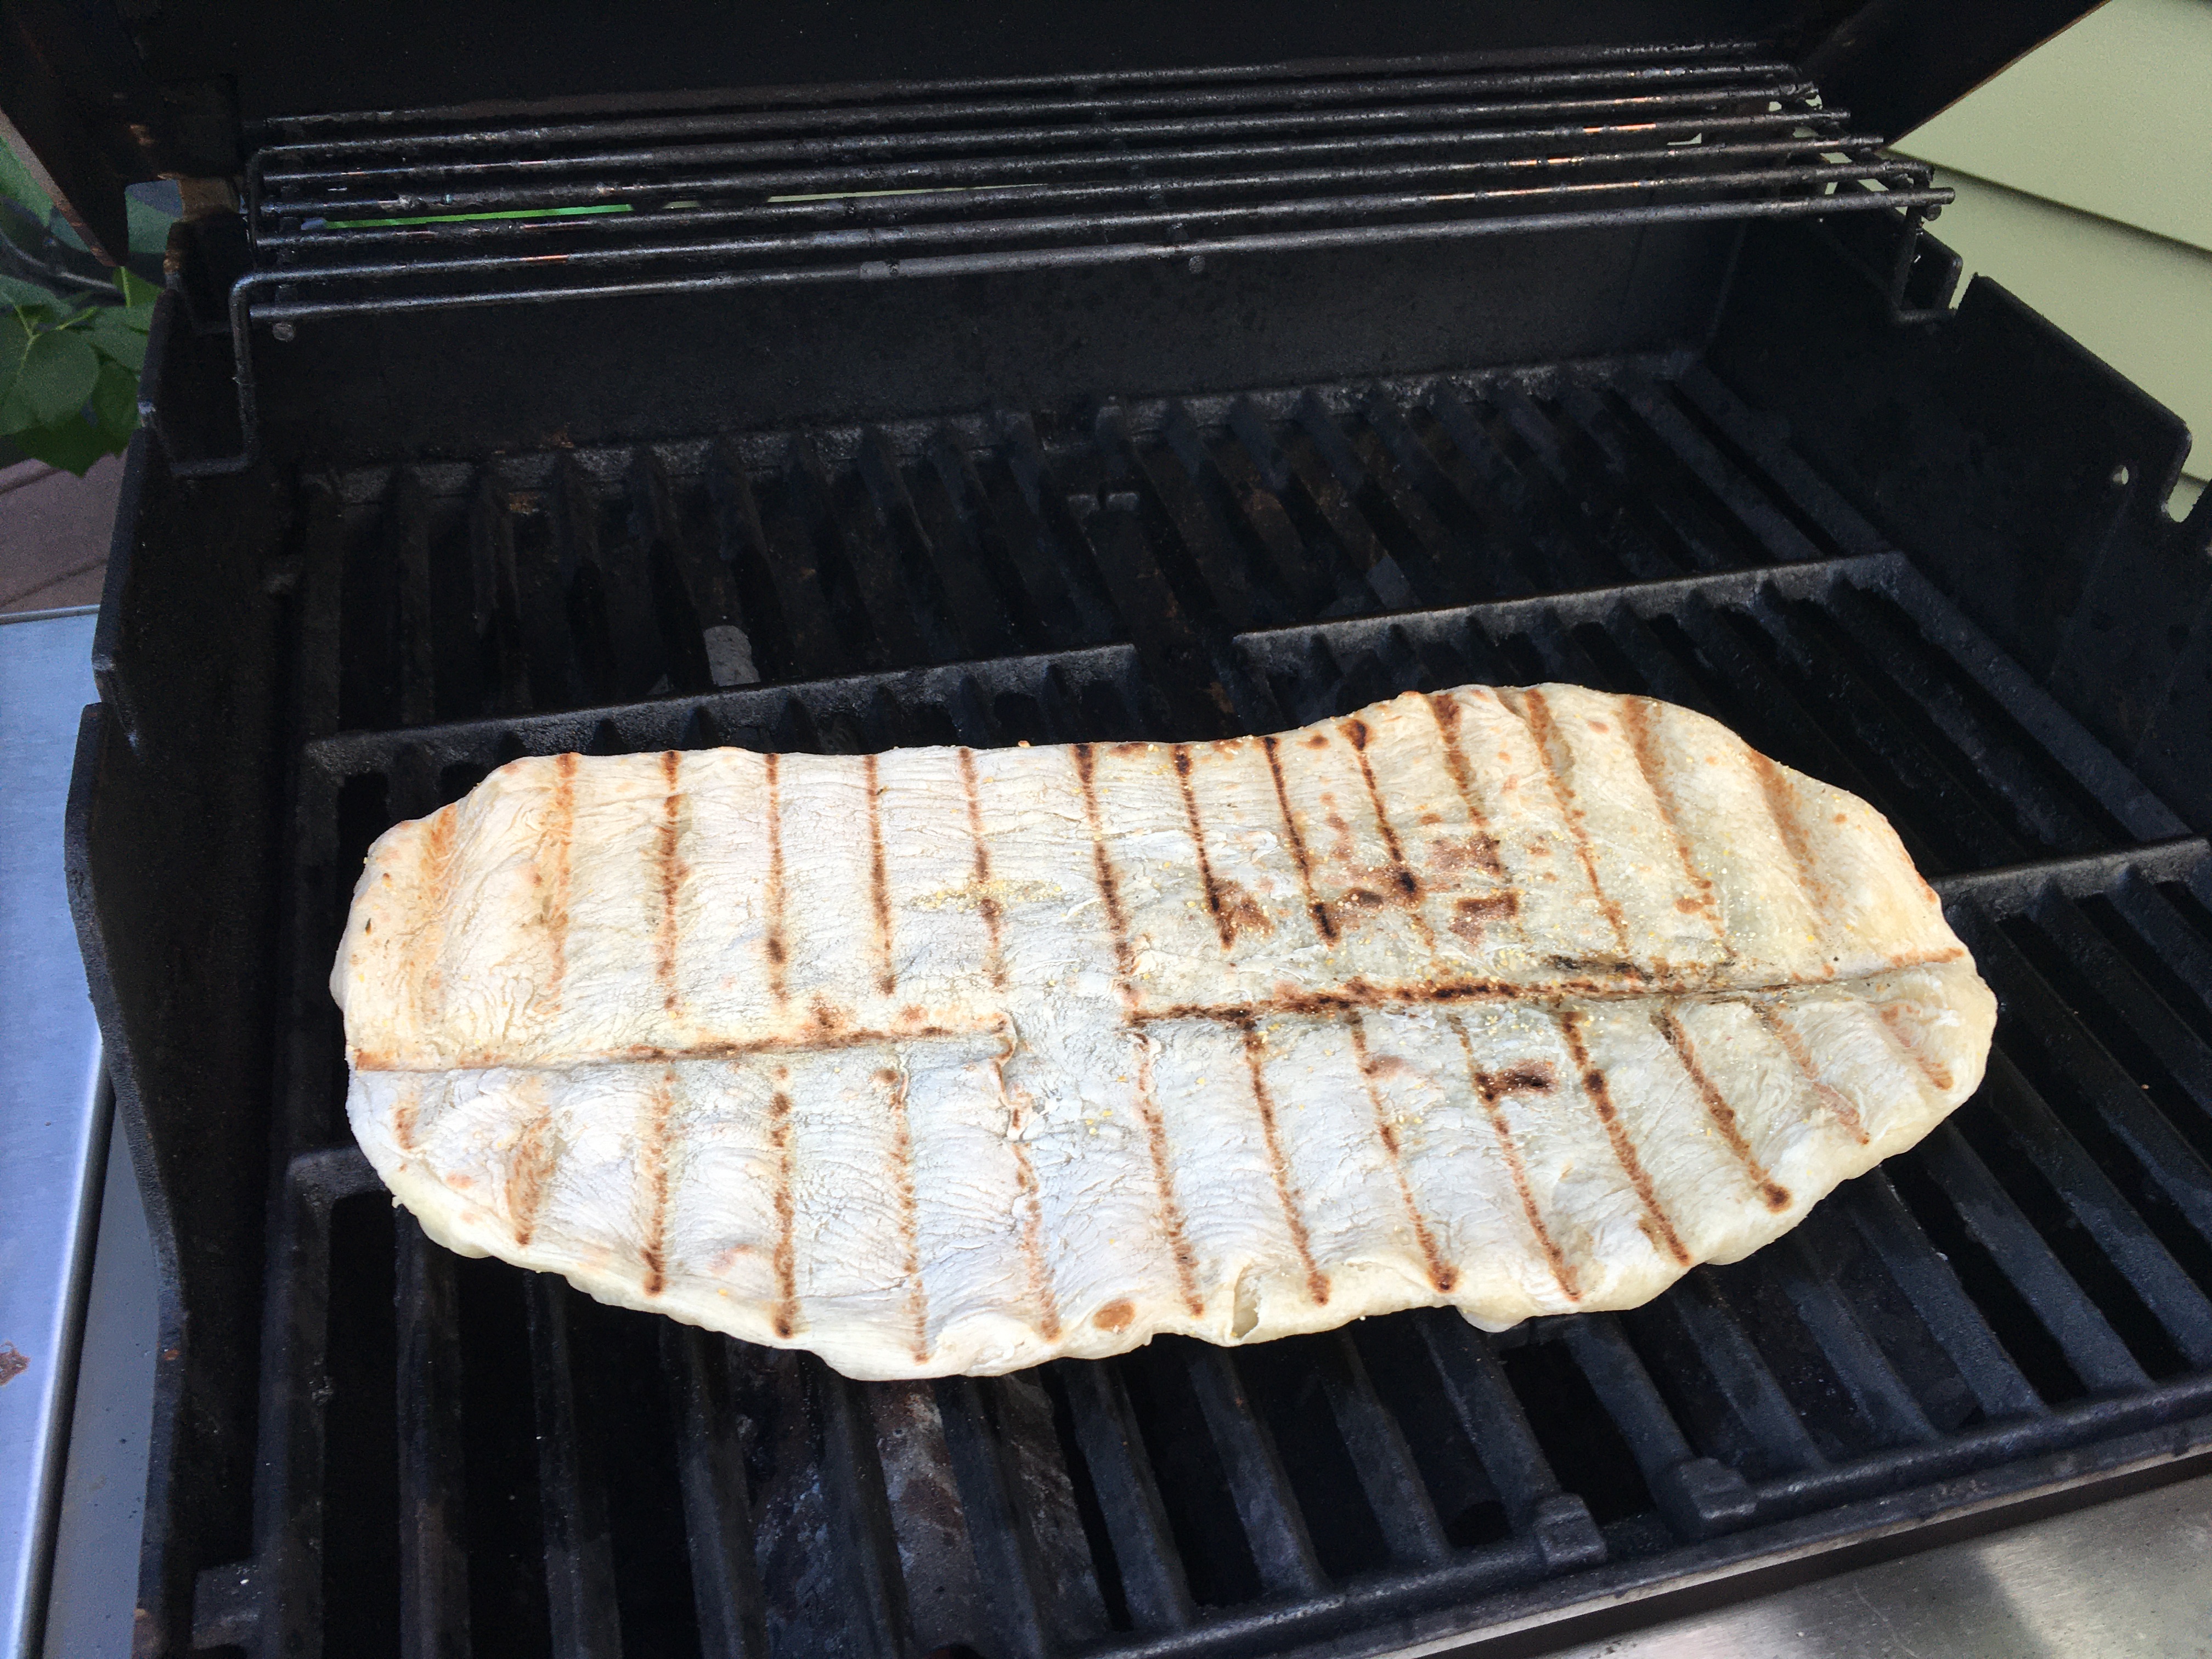
I could have cooked this a little less. We are just going for
firming up, not totally cooking yet.
Let cook on this side ~1-2 min. Then transfer back to the cutting board
or underside of a cookie sheet. You don’t need the parchment anymore
because now the crust has formed and it will be easy to put back on the grill.
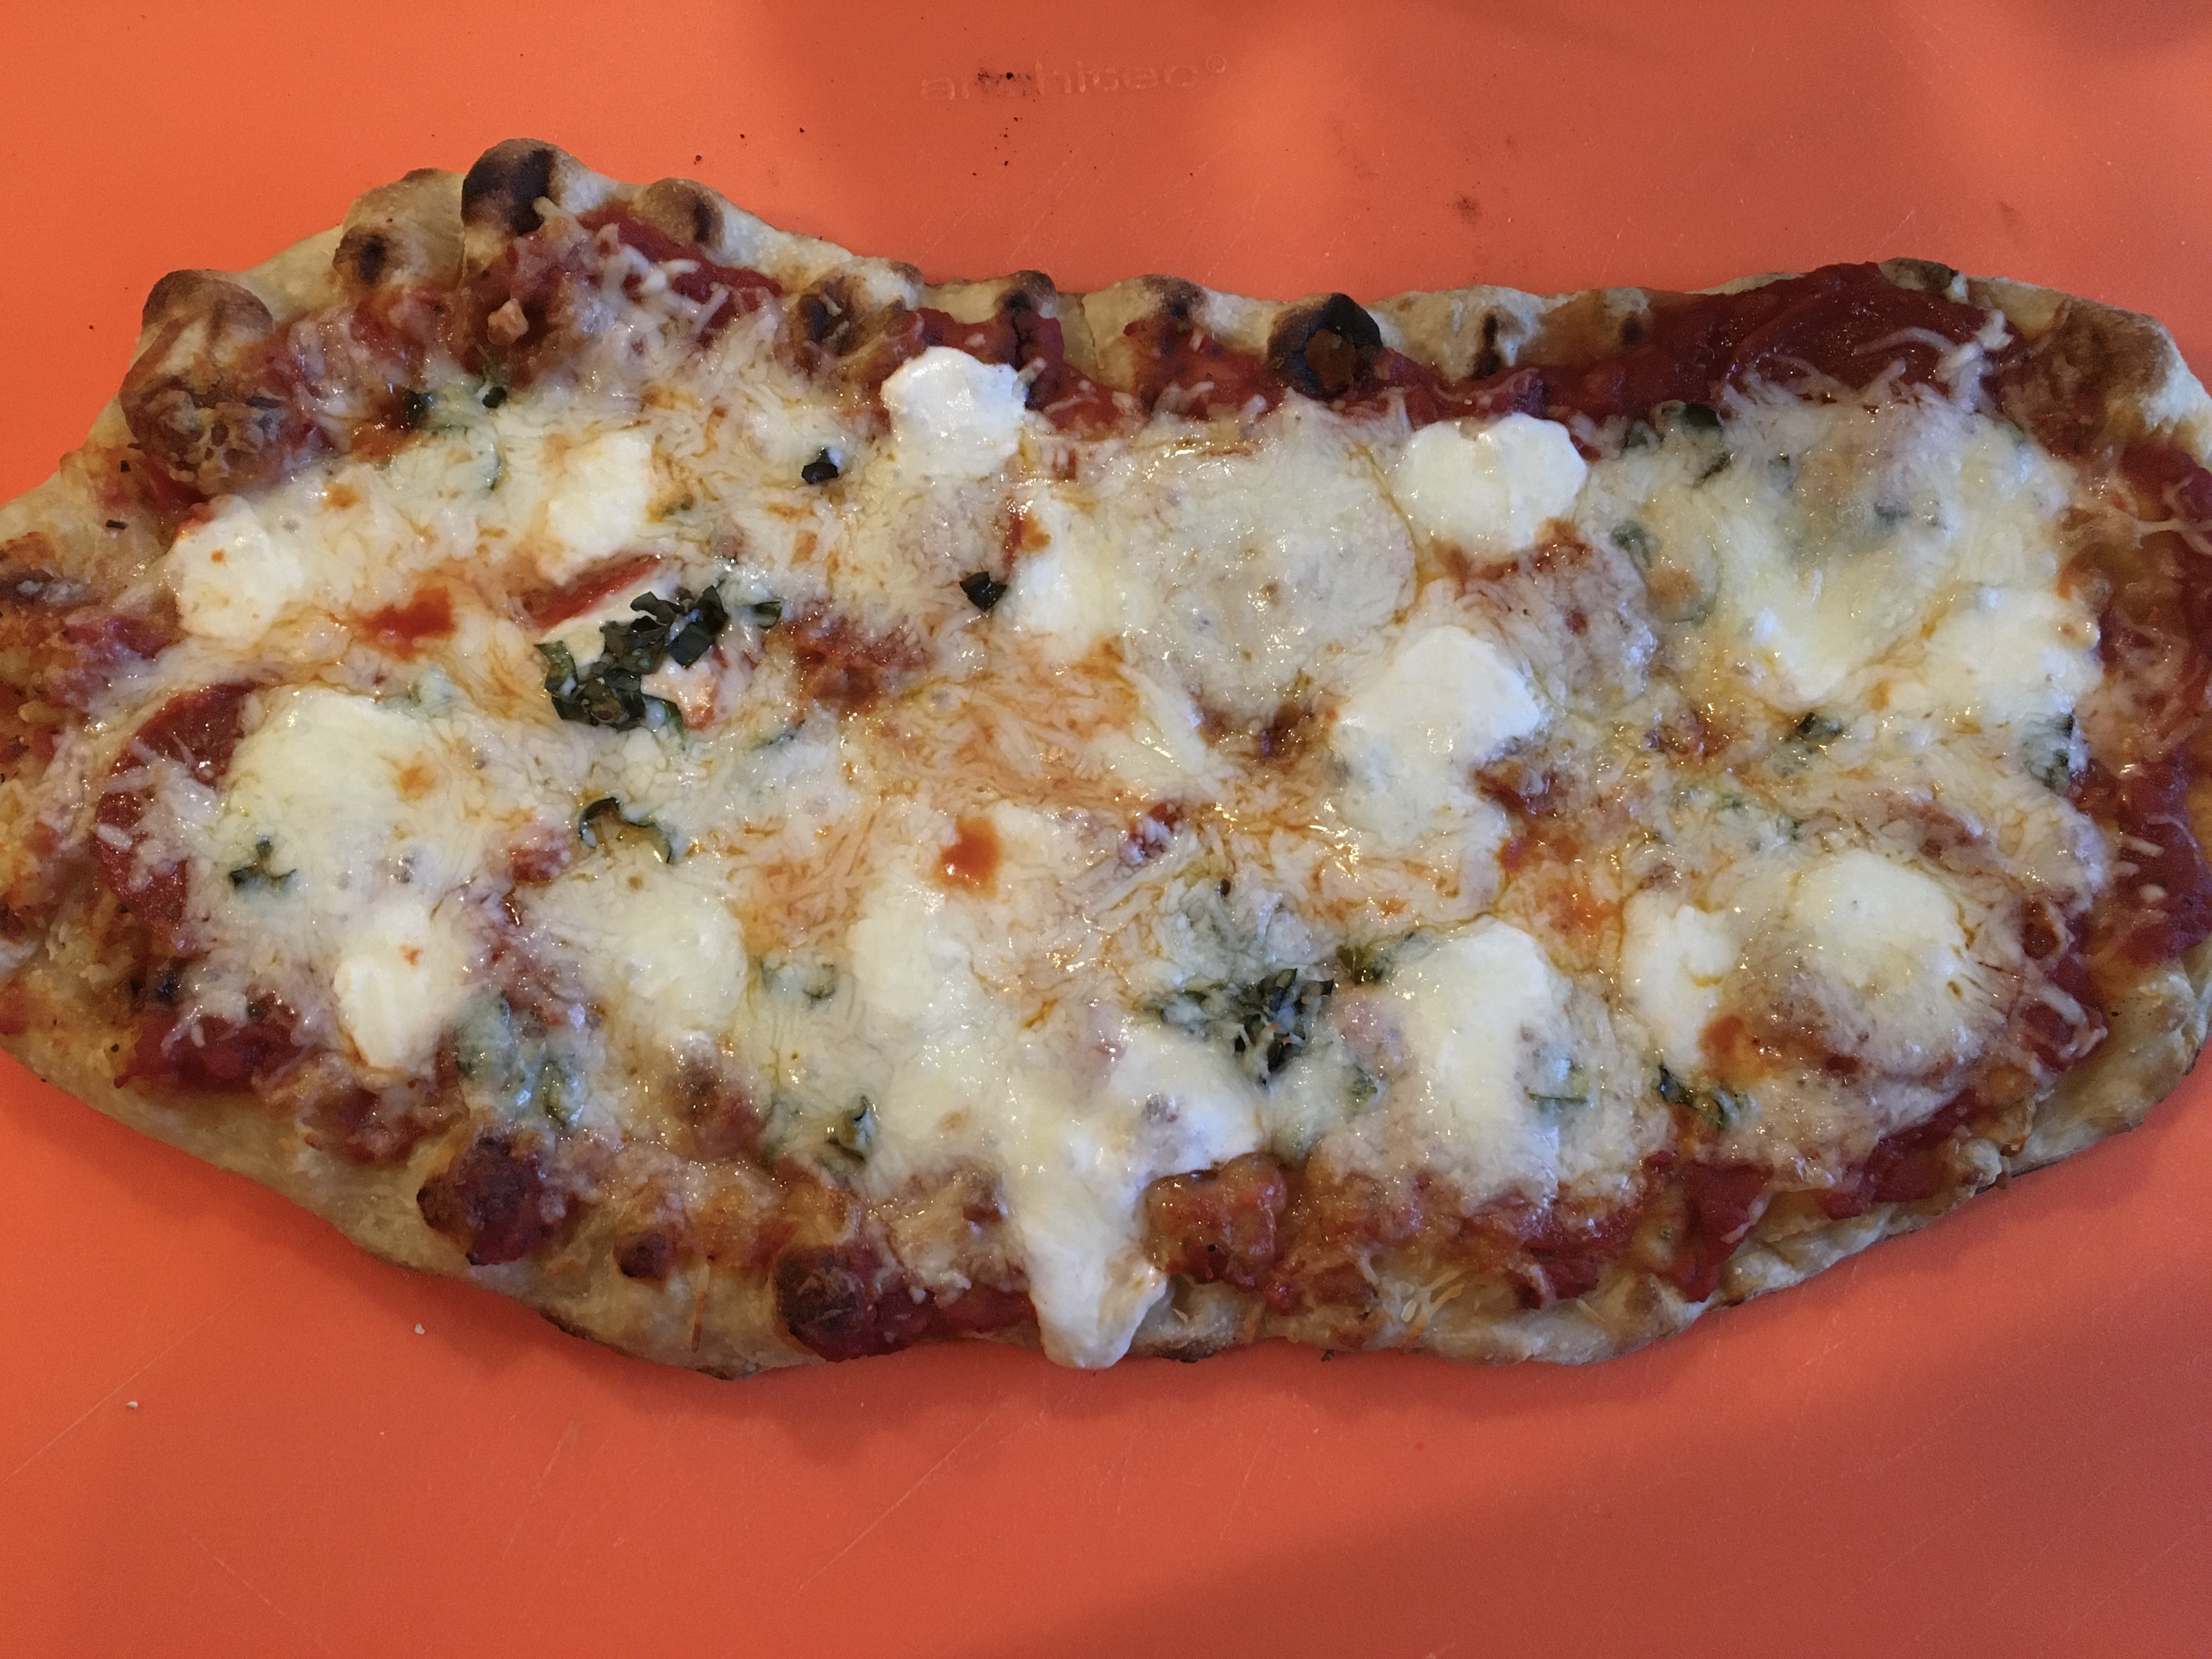
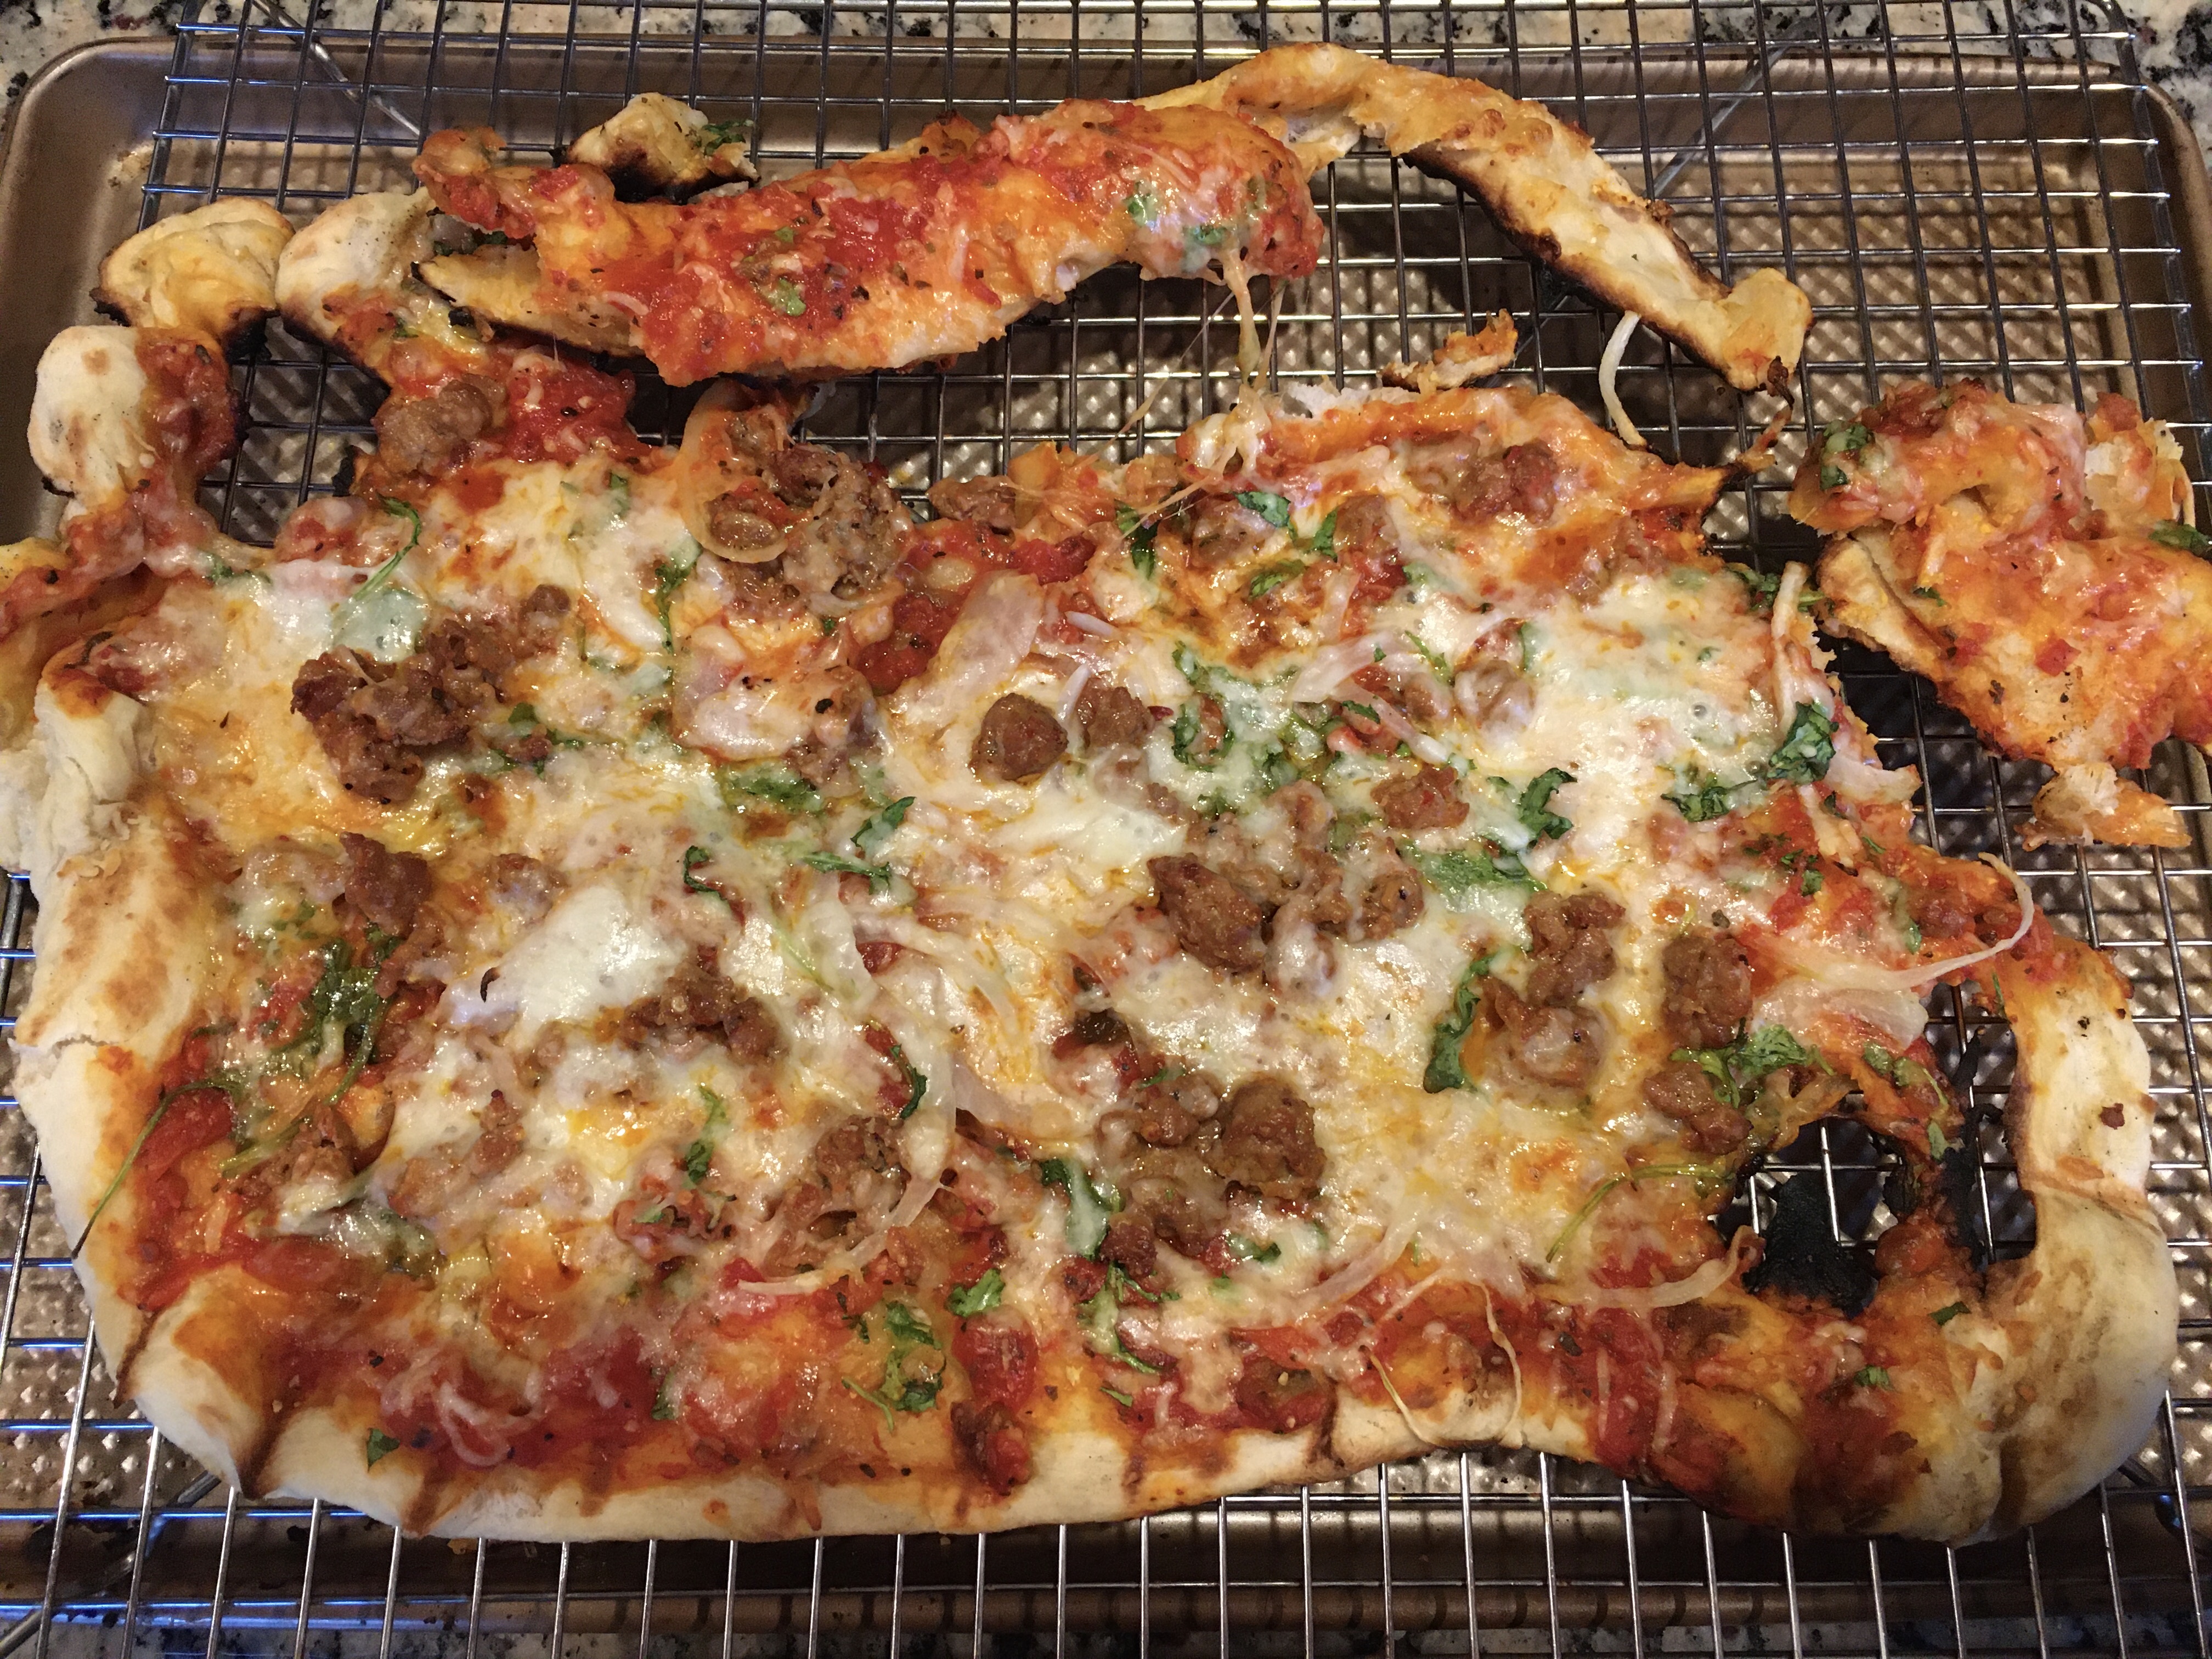
Now, add your toppings, tomato sauce, cheese, or your version of a flatbread
and put back on the grill. Timing will vary……stay close by and watch it…..
you just want all the toppings to warm up and have the cheese be all melty.
The reason for giving the dough a crust on both sides as the first
step makes a crusty pizza and prevents the top from getting too
soggy when you put on all the toppings.
this is a bit over-done (burnt!) but not so much that it wasn’t edible!
This was my husband’s pizza on the right, he did not let his get
burnt but the mozzarella is not as melty as mine was,
Mine got a bit burnt but super melty. So I’m still working on finding
the perfect balance but in the meantime, I will enjoy
my on-going experiments!
my pizza – more melty! 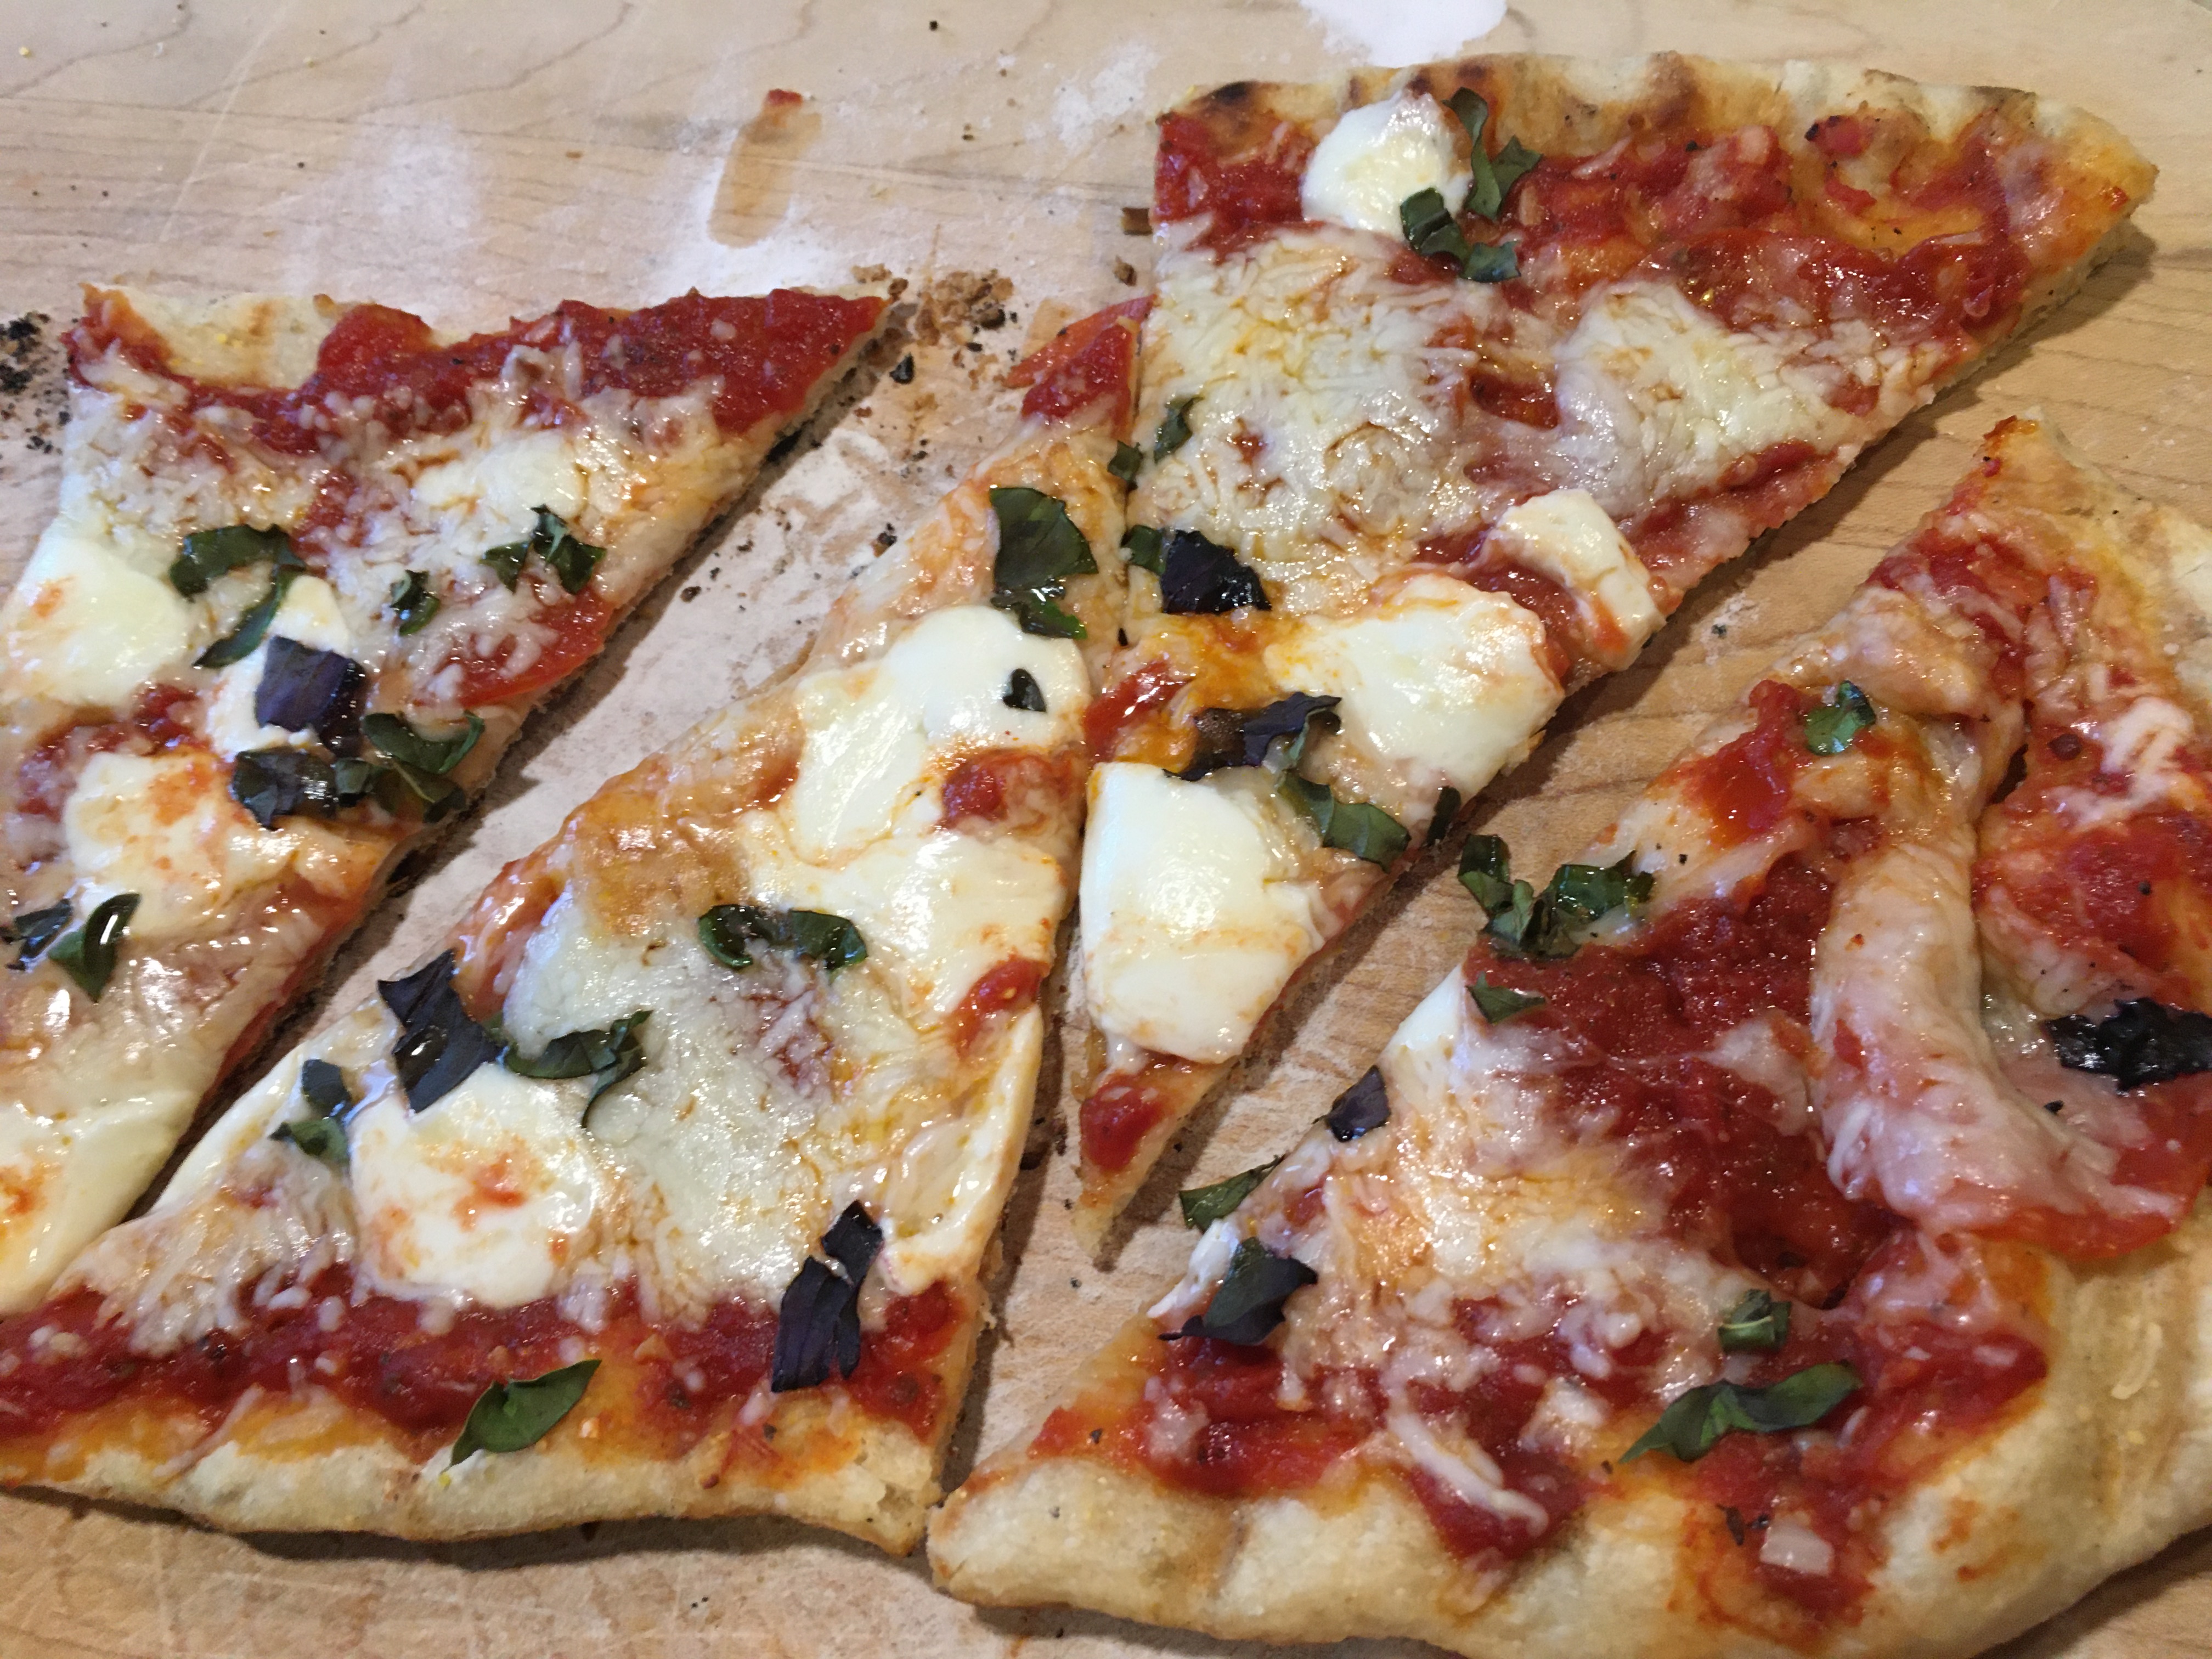
my husband’s – less burnt!
If you’ve read this far and decide this is just too much work
and not worth the effort, I must say it is worth it!
But I get it!!!!!
You can try my oven-baked pizza which is just as delicious.
The recipe for the dough is different that what
I use here for the grilled pizza. One is more hearty
(oven-baked) and the grilled pizza dough recipe gets
a more thin and crispy texture.
no hot kitchen in the summer, throw this right on the grill for thin, crispy pizza every time
- 3 cups al-purpose flour, unbleached
- 1 1/4 tsp table salt (may use kosher)
- 1/2 tsp instant-rise yeast
- 1-1/4 to 1-1/2 cups ice water
- 1 TBSP olive oil
-
In a stand mixer or in a large bowl, add all dry ingredients and blend to combine.
-
Add ice water and stir vigoruously until thoroughly blended.
-
Add olive oil to incorporate evenly. If mixture is too dry, add enough water to allow mixing but dough should be firm, not to soft or sticky.
-
Brush with olive oil and cover bowl with plastic wrap or a towel and let rise at room temp. 4-12 hours.
-
Alternatively: you can put the dough in the refrigerator after mixing and covering and let sit 3-10 hours and then let rise at room temp 4-10 hours.
-
When ready, punch down dough, divide in half. The smaller doughs are way more manageable on the grill. If you use the dough for one big pizza, I would recommend baking in the oven.
-
You can also wrap in plastic wrap at this stage and freeze for later use. When you want to use, just let thaw on counter to room temp.
-
I have also made a pizza with all the toppings and then put this in the freezer. This is ready to throw in the oven for a super quick dinner, add in a salad and you are done.