I had already mixed the dough when I got the idea
that I should be posting this recipe. Ever since I attended
a dinner party at a friend’s house, where she served
what obviously was homemade bread, I was hooked.
She gifted me the same book that she used to make
this unbelievably tasty, chewy, pull-y (if that is a word)
bread. I admit I do not make this on a weekly basis
but I should. That said, it is such a treat when I make the
time to whip together the dough and then
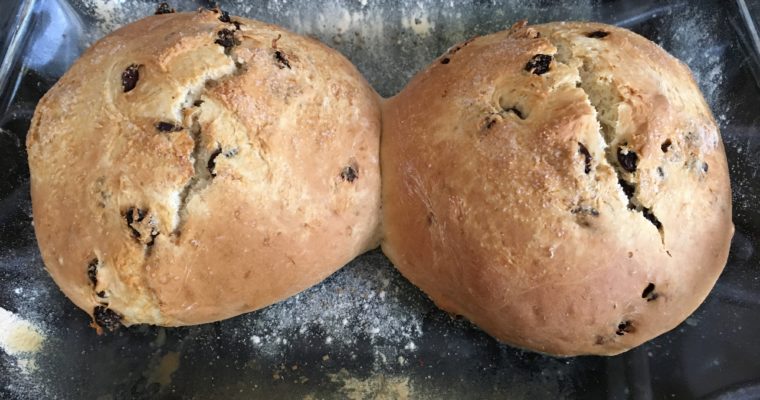
WHAT A GIFT !
the next day, or the day after that if I do an extended
rise, to have fresh baked bread. That fragrance wafting through the house awakens the senses in anticipation of such goodness!!!
Knowing exactly every ingredient including
the LOVE that went into making it.
Once the bread cools, cut a thick slice, slather with
butter and enjoy
WARM HOMEMADE BREAD.
Do not be intimidated by the long instructions,
just read through them one time and
take it step by step.
YOU CAN DO THIS!
Contact me with any question!
I’ll be glad to guide you through the process.
Enjoy this recipe from my kitchen to yours.
If you do make this recipe, I would love to see pictures
and read any comments on your process,
the results, or any changes that made this
recipe your own.

toasted and buttered! 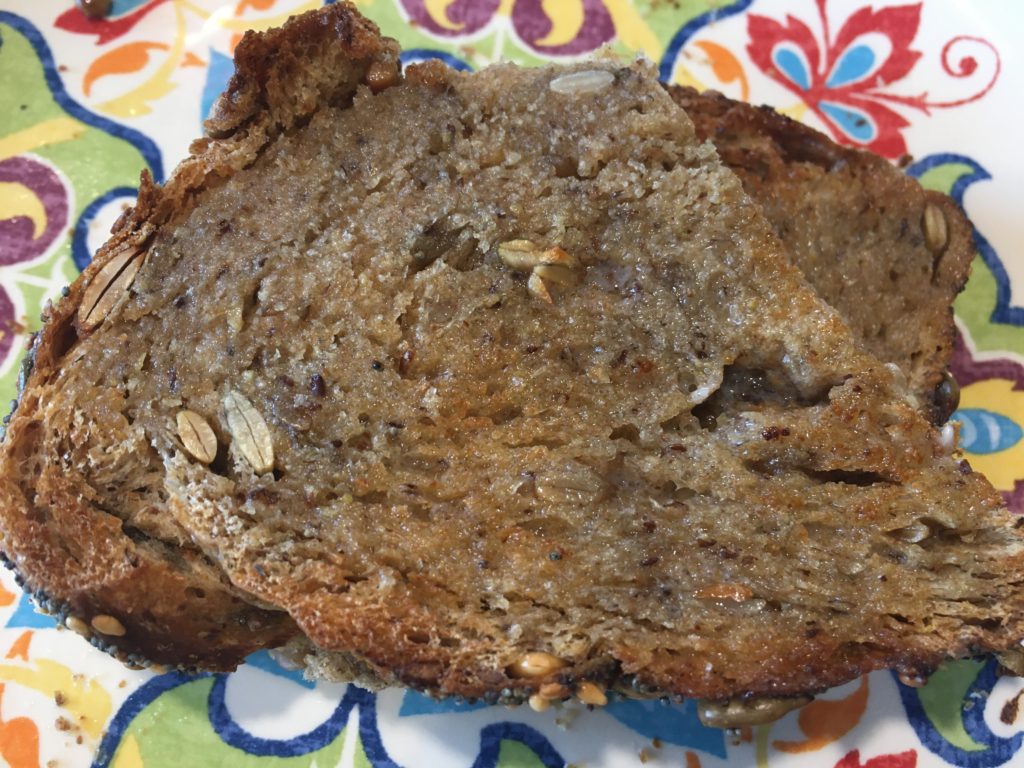
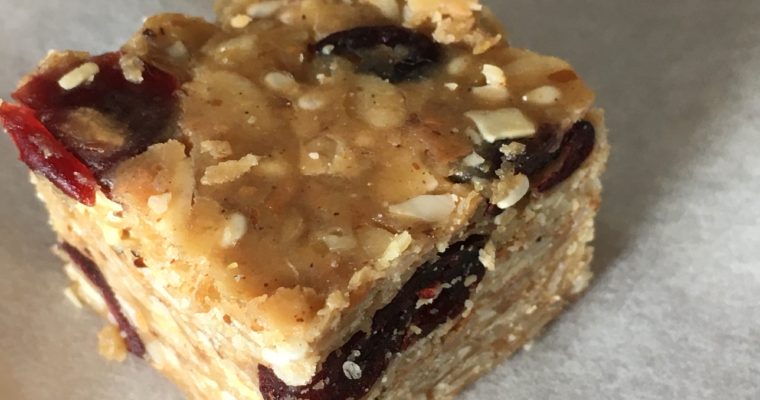
closer view for texture
once you start making your own bread, you cannot go back. the effort and energy goes into caring for the dough over time by stirring occasionally and folding in nuts/seeds. anyone can do this!!!
- 1 1/2 cups all purpose flour
- 1 1/3 cups whole wheat flour
- 1 1/4 tsp table salt
- 1 tsp instant fast-rising, or bread-machine yeast DO NOT substitute regular yeast here
- 1 1/2 TBSP flavorless oil (canola, vegetable, grapeseed)
- 3 TBSP honey or molasses (see note)
- 1 1/3 cups ice water, plus more if needed
- 2/3 cup mixed seeds, roasted (sunflower, poppy, pumpkin, millet, flax, sesame)
- 1/4 cup mixed seeds, roasted (sunflower, poppy, pumpkin, millet, flax, sesame)
-
Using a stand mixer, attach the dough hook. Add all dry ingredients to a bowl and blend with a spatula.
-
Combine honey and oil, then add to the dry ingredients. Then add ice water.
-
Using low/medium speed to start blending (just so flour doesn't go flying) slowly increasing speed to medium/medium high to combine all ingredients. Dough will be a bit sticky here so you can add more flour. I have found if the dough is too dry, it ends up drying out in the oven. I go for a more sticky dough.
-
First Rise:
Knead on a lightly floured counter just to form a smooth ball of dough. Place the dough in an oiled bowl, cover with plastic wrap and put in refrigerator for 3-10 hours (whatever your schedule allows).
-
Remove from refrigerator and let sit on counter to rise for 12-18 hours (lots of flexibility here and there is no right or wrong).
-
Second Rise:
This is the time when the seeds are added to the dough to incorporate fully. Remove dough from bowl onto a floured surface. Stretch dough into a more flat shape and spread half of the seed mixture onto dough and press in with your hands. Fold the dough into thirds covering all the seeds and knead a few times. Repeat this by spreading dough out and adding the rest of the seed mixture, pressing in with your hands and folding into thirds again. Knead to allow seed mixture to be evenly distributed. Use wheat flour as needed to prevent sticking.
-
Generously spray a 3 1/2-4 qt. dutch oven or oven proof pot that has a cover with cooking spray. I also add some olive oil to coat the pan.
-
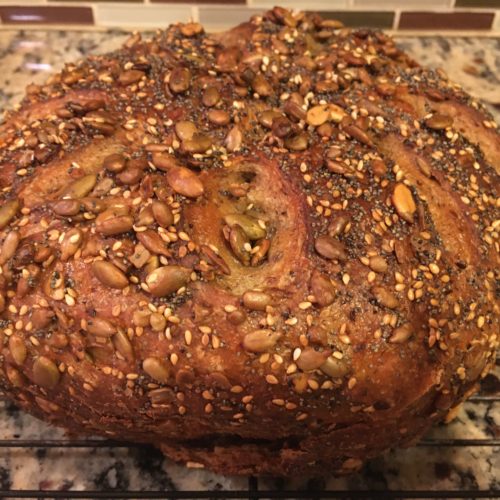
Form dough into a high-domed ball ~ 6 1/2 " in diameter and place in the prepared dutch oven.
-
Make and egg wash by taking one egg with 1 tsp. water and whisking to blend.
-
Brush dough with egg wash. I find I get better coverage using my hands instead of a brush. This will allow the seeds to adhere to the dough.
-
Use the reserved seed mixture and cover the bread with seeds. Using a well-oiled knife, cut a 1/2" deep 3" diameter circle in the top of the bread. (see note). Cover the pot with the lid.
-
Two options here:
1. Let rise for 2-4 hours at warm room temp.
2. Refrigerate 4-24 hours and then let stand at room temp until the dough doubles in size.
Again, totally depends on your schedule. You can't go wrong! If you have only 4 hrs for option 2, FINE. If you can do 24 hrs., all the better but FINE IF YOU DON'T.
-
15 minutes before baking, place rack on lower third of oven and preheat to 450 deg. (see note)
-
Brush or spray the dough with water and put cover in place. LOWER OVEN TEMP TO 425 DEG. (see note)
-
Place dutch oven on rack in oven for ~ 45 minutes.
-
Uncover and bake anther 10-15 minutes. Use a skewer to check for doneness by having just a few particles sticking on the end. (see notes)
-
Let cool in pan for 10 minutes then flip out onto a wire rack to cool.
-
While warm, so good to slice off a small heel to enjoy the warmth of the bread and the crunch of the crust. A little butter slathered on, even better!!!
- I have made this bread using honey and molasses and I prefer the honey. I though the molasses would give it a deeper flavor, like anadama bread, but it could have used more.
- I usually make the dough mid-day and pop it right into the frig. Before I go to bed, I take it out to rest on the counter for the next phase.
- Instead of cutting a circle, you can make any design of cut that you like. Maybe 4 long cuts or create a diagonal patter. Be creative.
- The two options for the 2nd rise serve different purposes. Option 1 is great if you plan to serve warm with dinner. Option 2 is when you don’t have time to bake that same day. Another reason option 2 is maybe a better choice – from experience this extra day of rising gives bread a chewier ( in a good way ) texture, light yet dense, and more holes (also in a good way). But either option, the bread is delicious!!!! It just depends on your schedule, the initial time that you prepared the dough and how and when you would like to eat/serve it.
- Another method I’ve used is to use an instant read thermometer to register between 208-210 deg.
- One time I made this at the recommended temps but the bread was on the burnt side of doneness. So I now preheat my oven to 425 deg and lower to 400 for baking. If that means I have to bake it a bit longer to reach the desired temp for doneness that is totally fine. Ovens vary so this will be different for everyone.